How to View Stomata Under the Microscope
One of my most favorite labs to do with students is the stomata lab. It’s simple, uses everyday items, and is easy to setup and manage. And the results are incredible (and nearly fool-proof)! If you’ve never taught this lab before, I highly encourage you to try it, whether with a unit on microscopes or a unit on plants and photosynthesis, or just on its own.
Here’s what you will need to get started:
A plant leaf (Any will do, but fresh is better. I usually go cut a few off a trees or bushes outside just before getting started.)
Clear nail polish
Clear tape (transparent, not matte- packaging tape works well)
Microscope slide
Microscope
How to get started:
The stomata are openings on the leaf surface that allow for gas exchange. Specialized cells surrounding the stomata work to open and close the microscopic pores so that oxygen and carbon dioxide can move in and out of the plant through the leaf. The stomata are generally found on the underside of the leaf, the side that is facing away from the sun (and is usually a little lighter in color). Lie the leaf flat in front of you so that the underside is facing you.

Carefully paint a thin layer of clear nail polish on a small portion of the leaf. Wait 1 minute. It’s important to wait a full minute so that the polish can dry a bit before moving onto the next step.

Place a small piece of clear tape over the area with the nail polish. Be careful not to touch the sticky portion of the tape, the part that will go over the nail polish, with your own fingers (otherwise you will get your fingerprints and not a print of the stomata).
Using the tip of your finger, gently but firmly rub the tape across the area with nail polish.
Carefully peel off the tape. You’ve just collected an imprint of the leaf’s stomata! Now it’s time to look at it under the microscope.
Place the tape onto a microscope slide, again being careful not to get your own fingerprints on the tape. You will likely need to use the highest magnification, but you should be able to spot some amazing stomata!

You aren’t actually looking at the stomata themselves, but an imprint taken of them when the nail polish and tape was placed on the leaf. It’s a very similar process to lifting fingerprints.
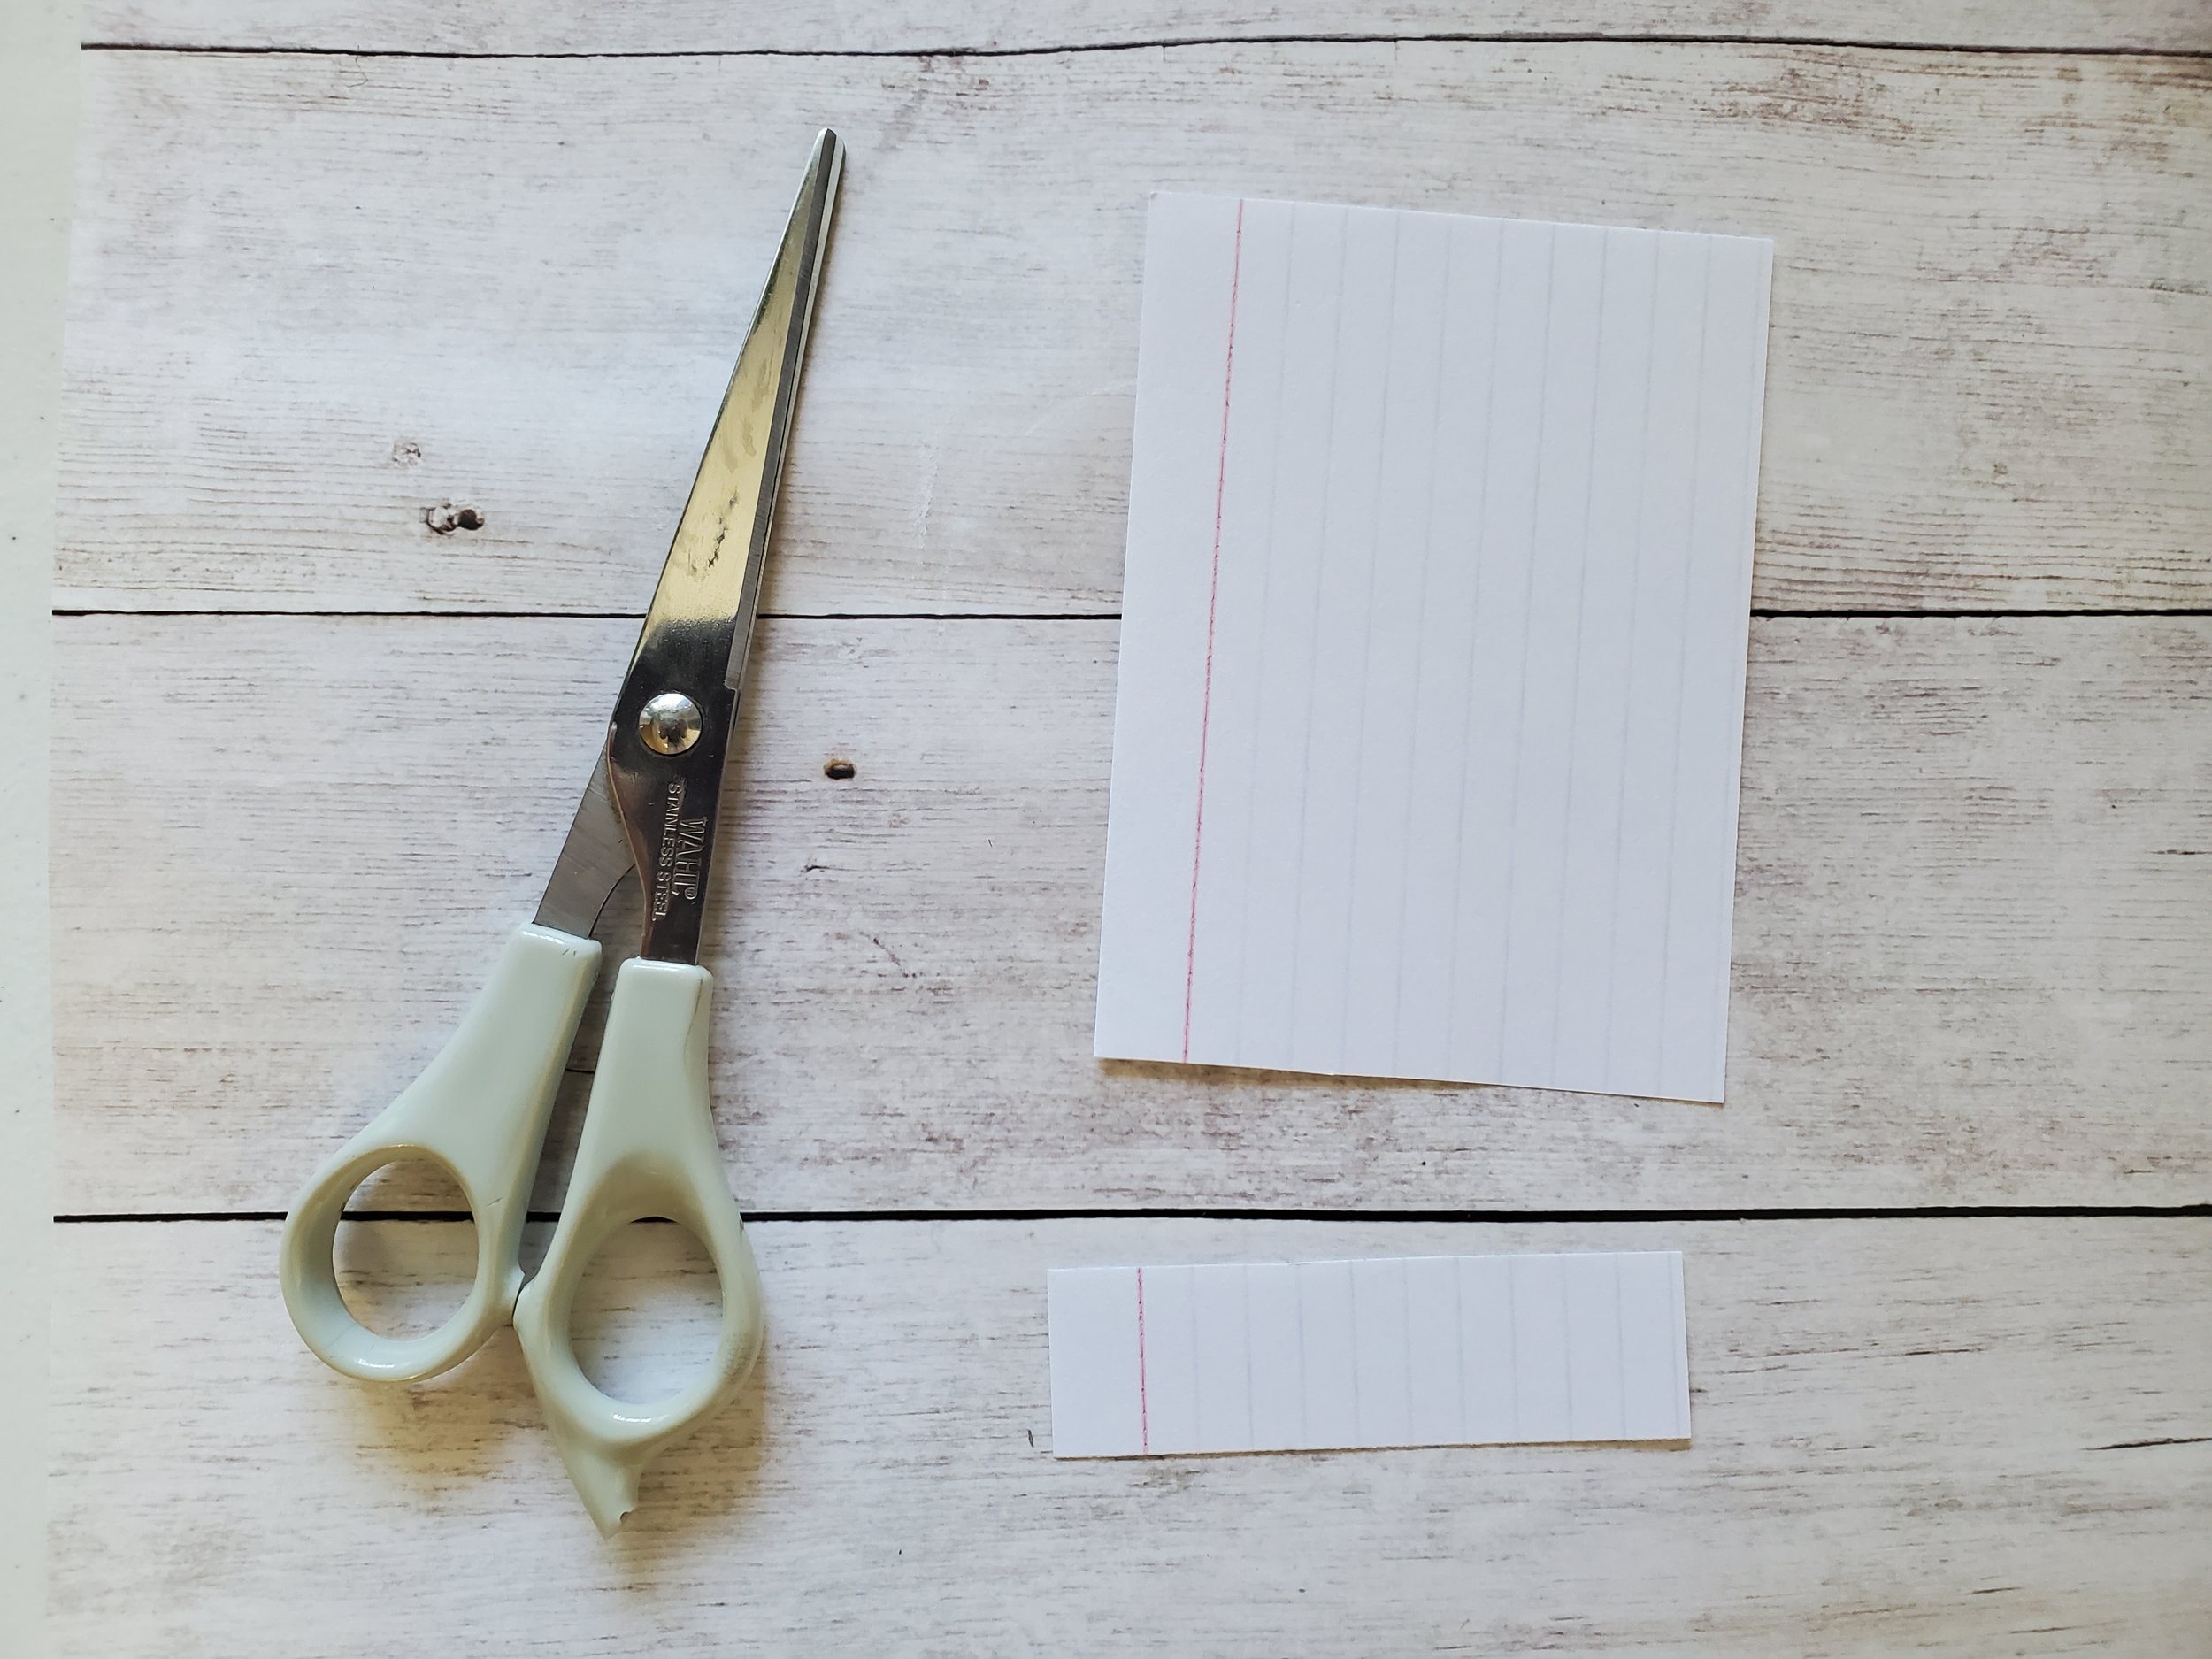
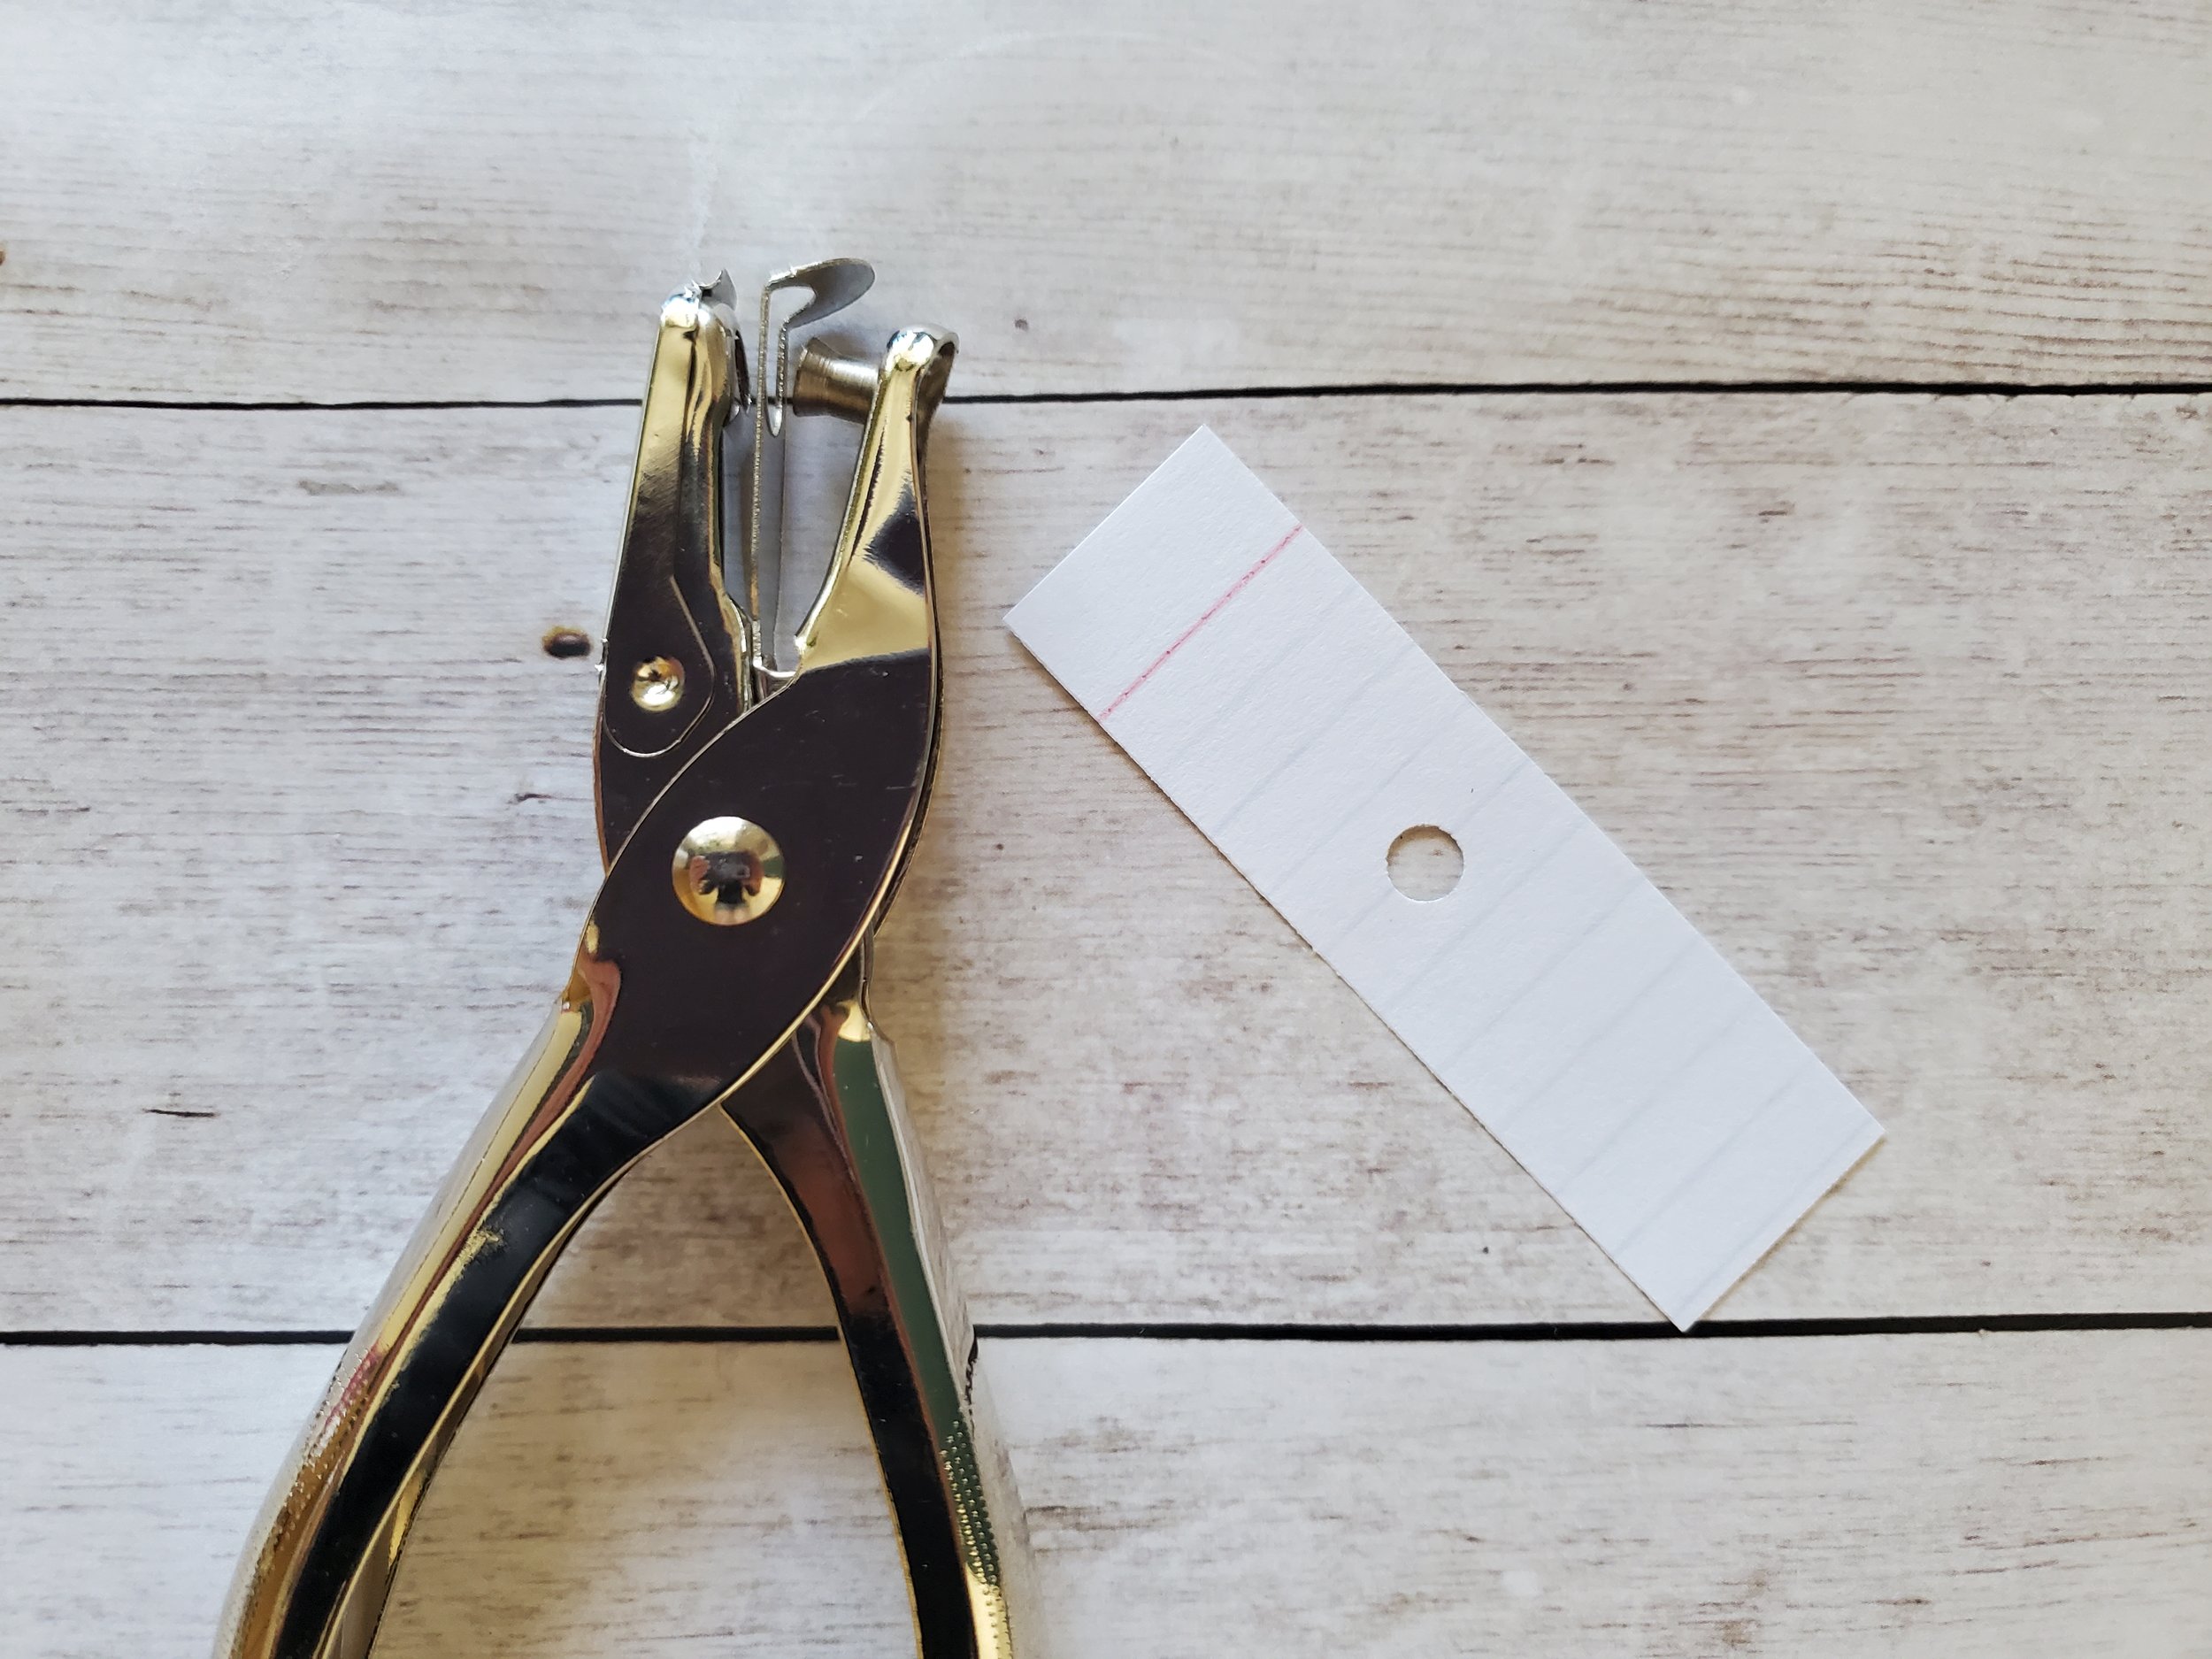
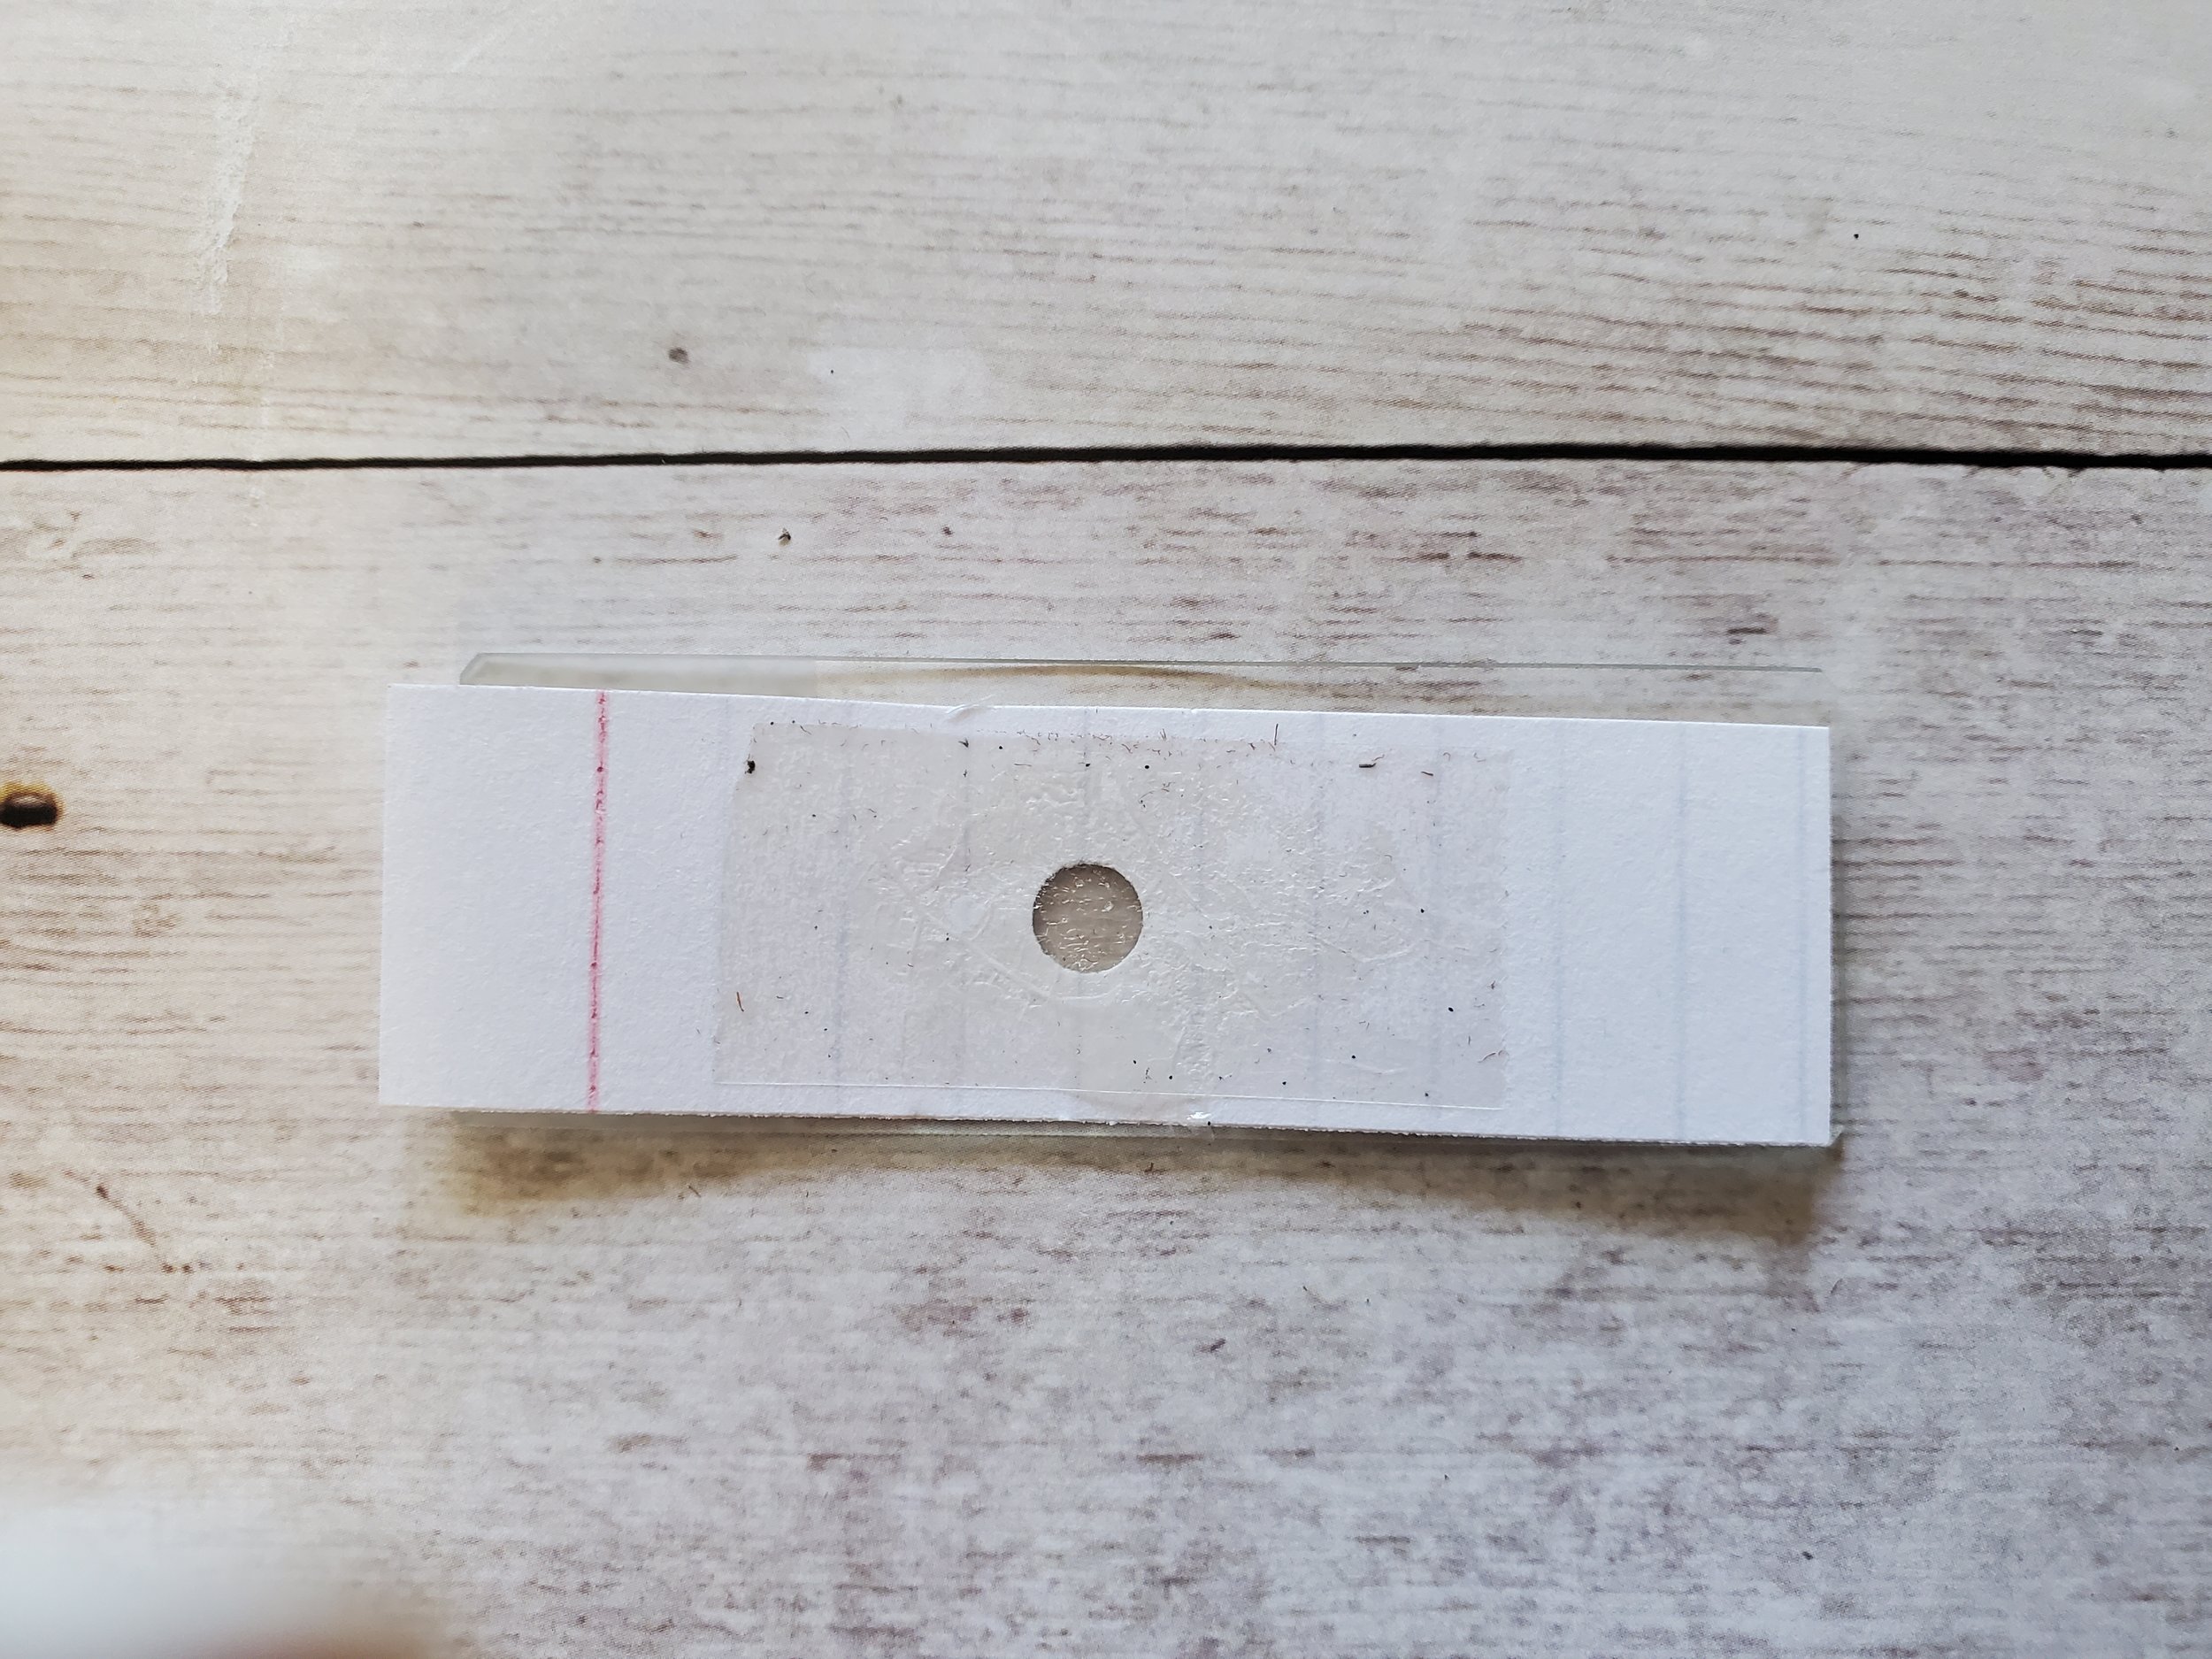
If you don’t have any microscope slides available, you can try this handy trick. Cut a strip off the short end of an index card. Punch a hole in the middle, then place the tape over the strip of card. Sometimes this works better for viewing the stomata then a regular slide does, so if your students are having trouble, give this a try.