Fun Interactive Science Models for Middle School Genetics
Teaching the principles of genetics to middle school students is possibly one of the most difficult concepts to cover. The subject is layered with complex vocabulary (what’s the difference between an allele and a gene again?) and abstract ideas. Plus, there just isn’t much in the way of lab work or experimentation that you can do in the middle school classroom that can really bring genetics to life. So, how do you make the abstract yet highly valuable concepts of genetics more accessible to middle school students? With monsters, of course!
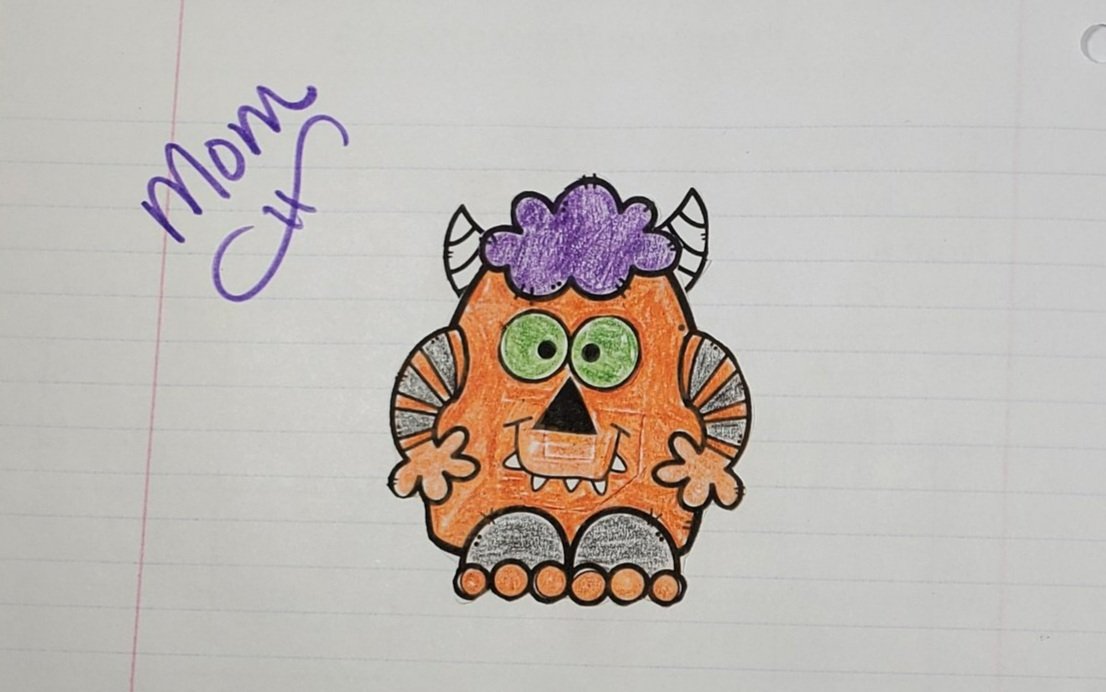
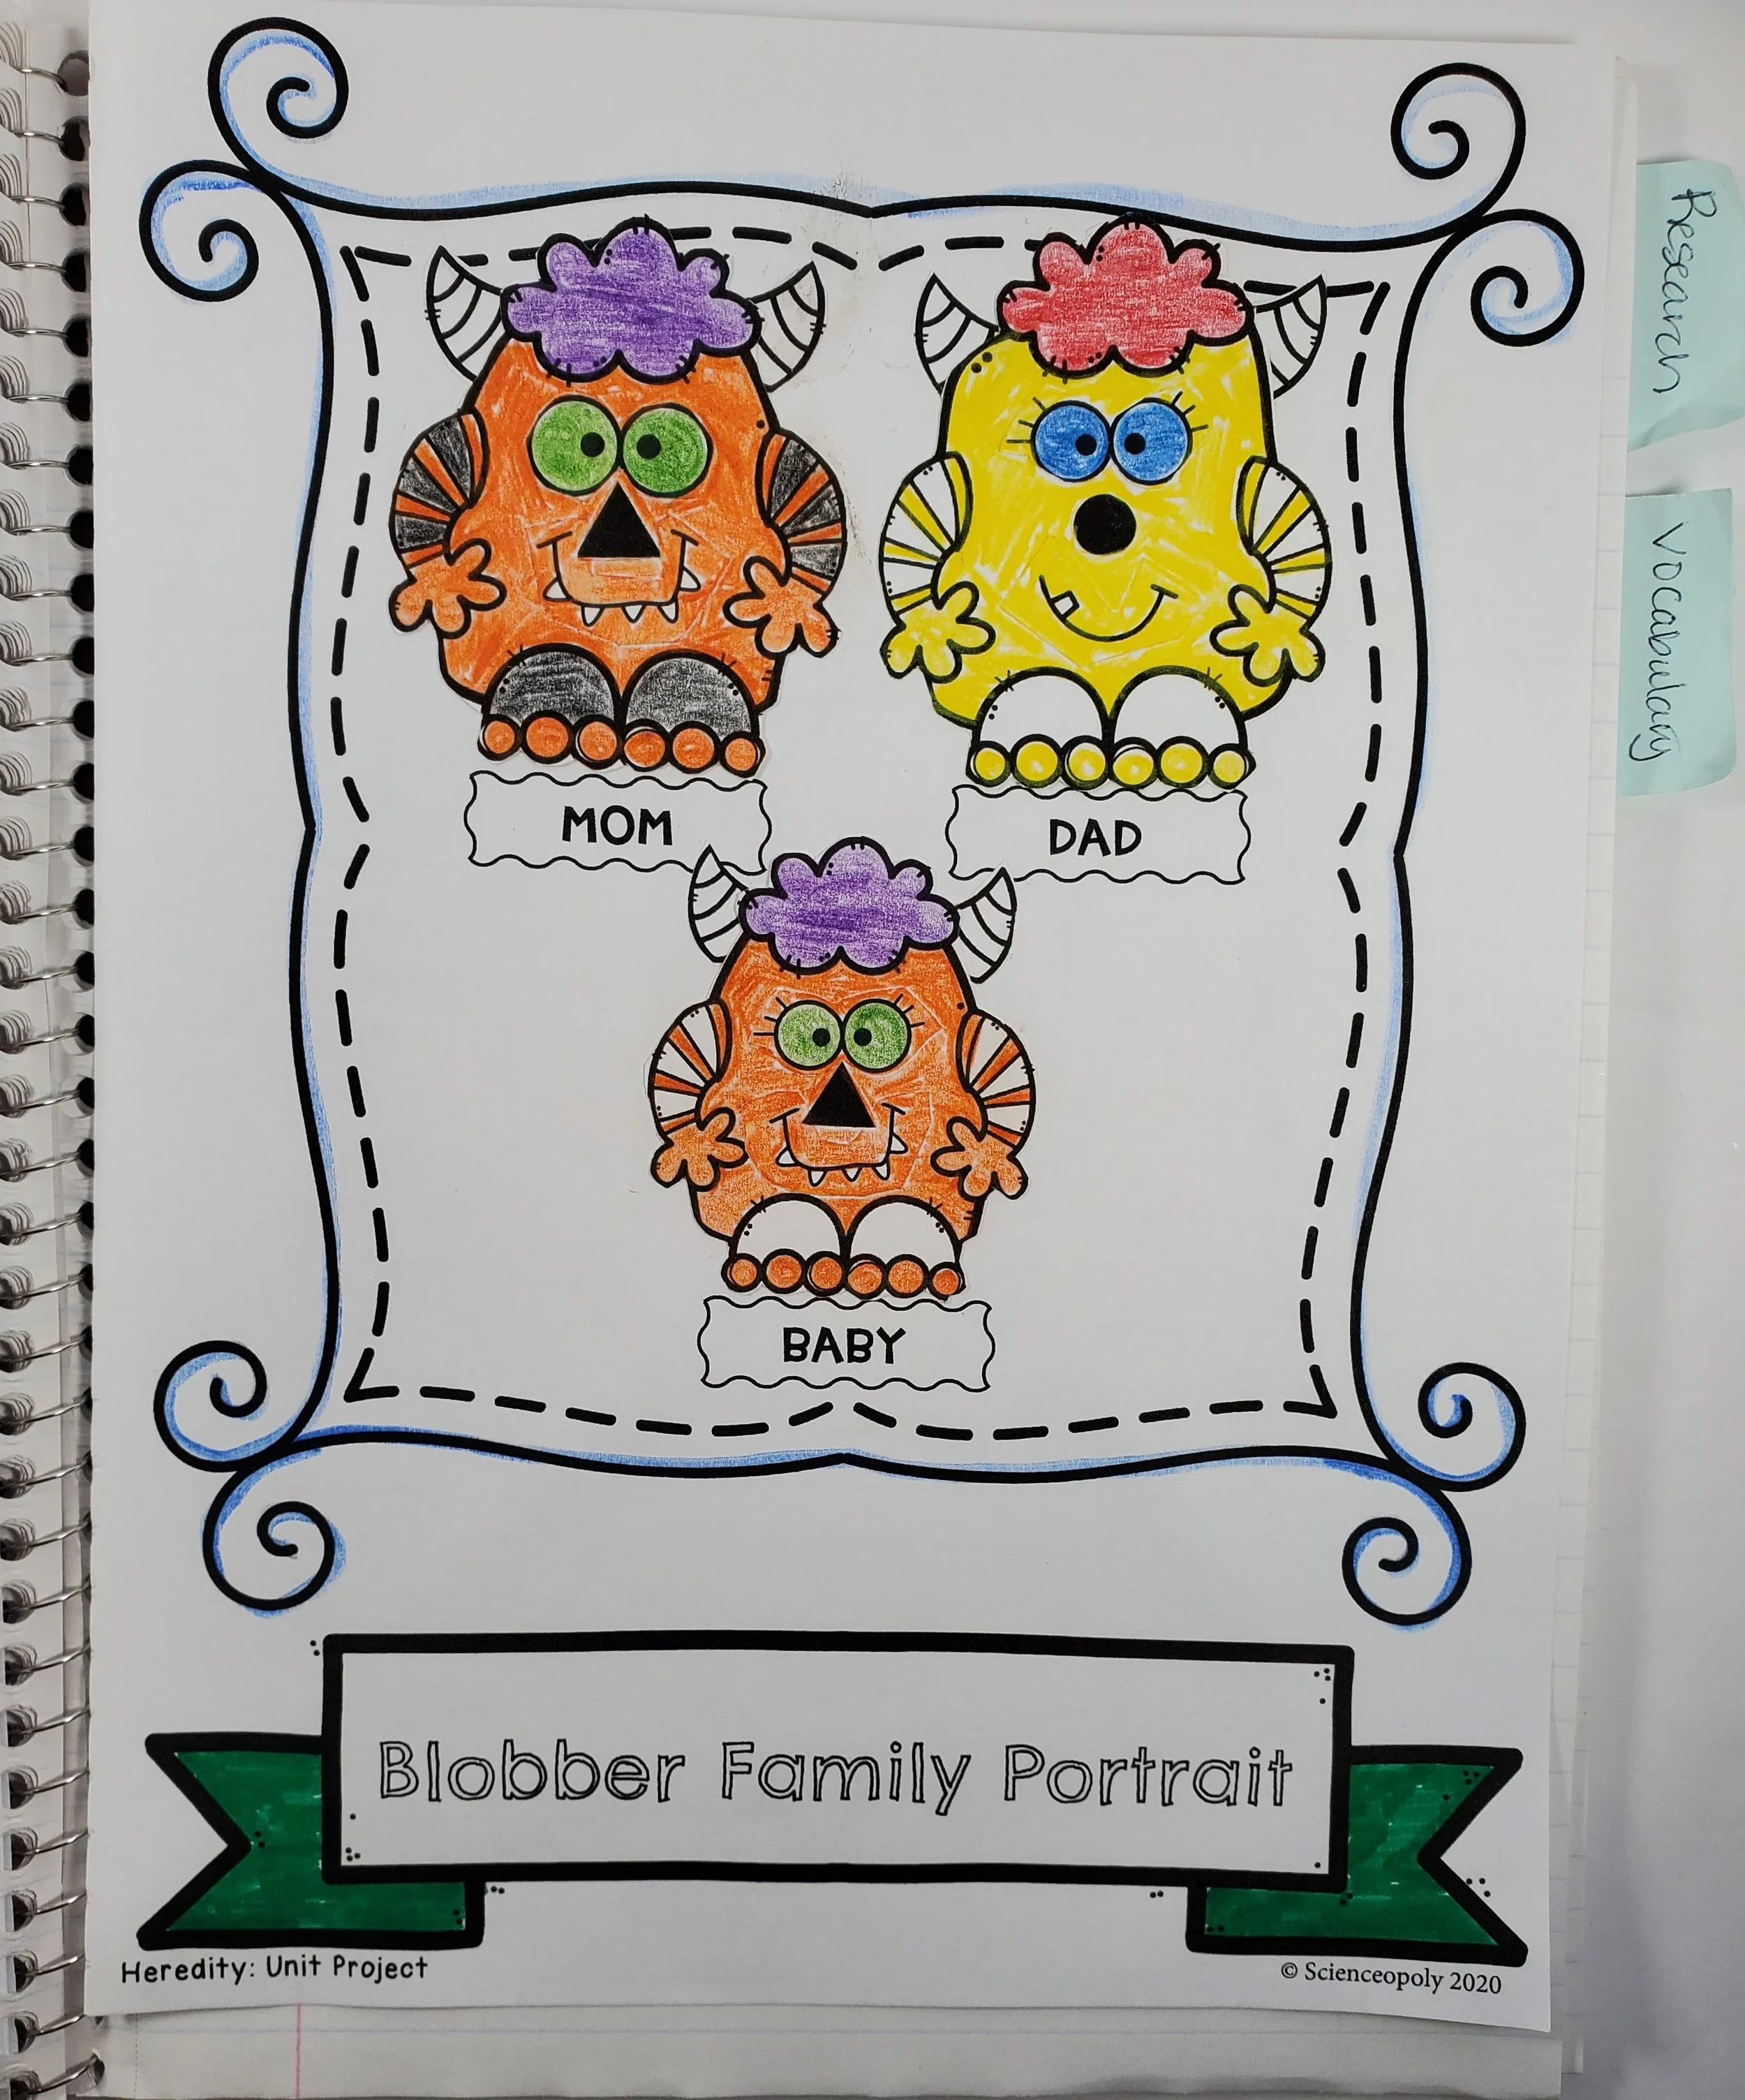
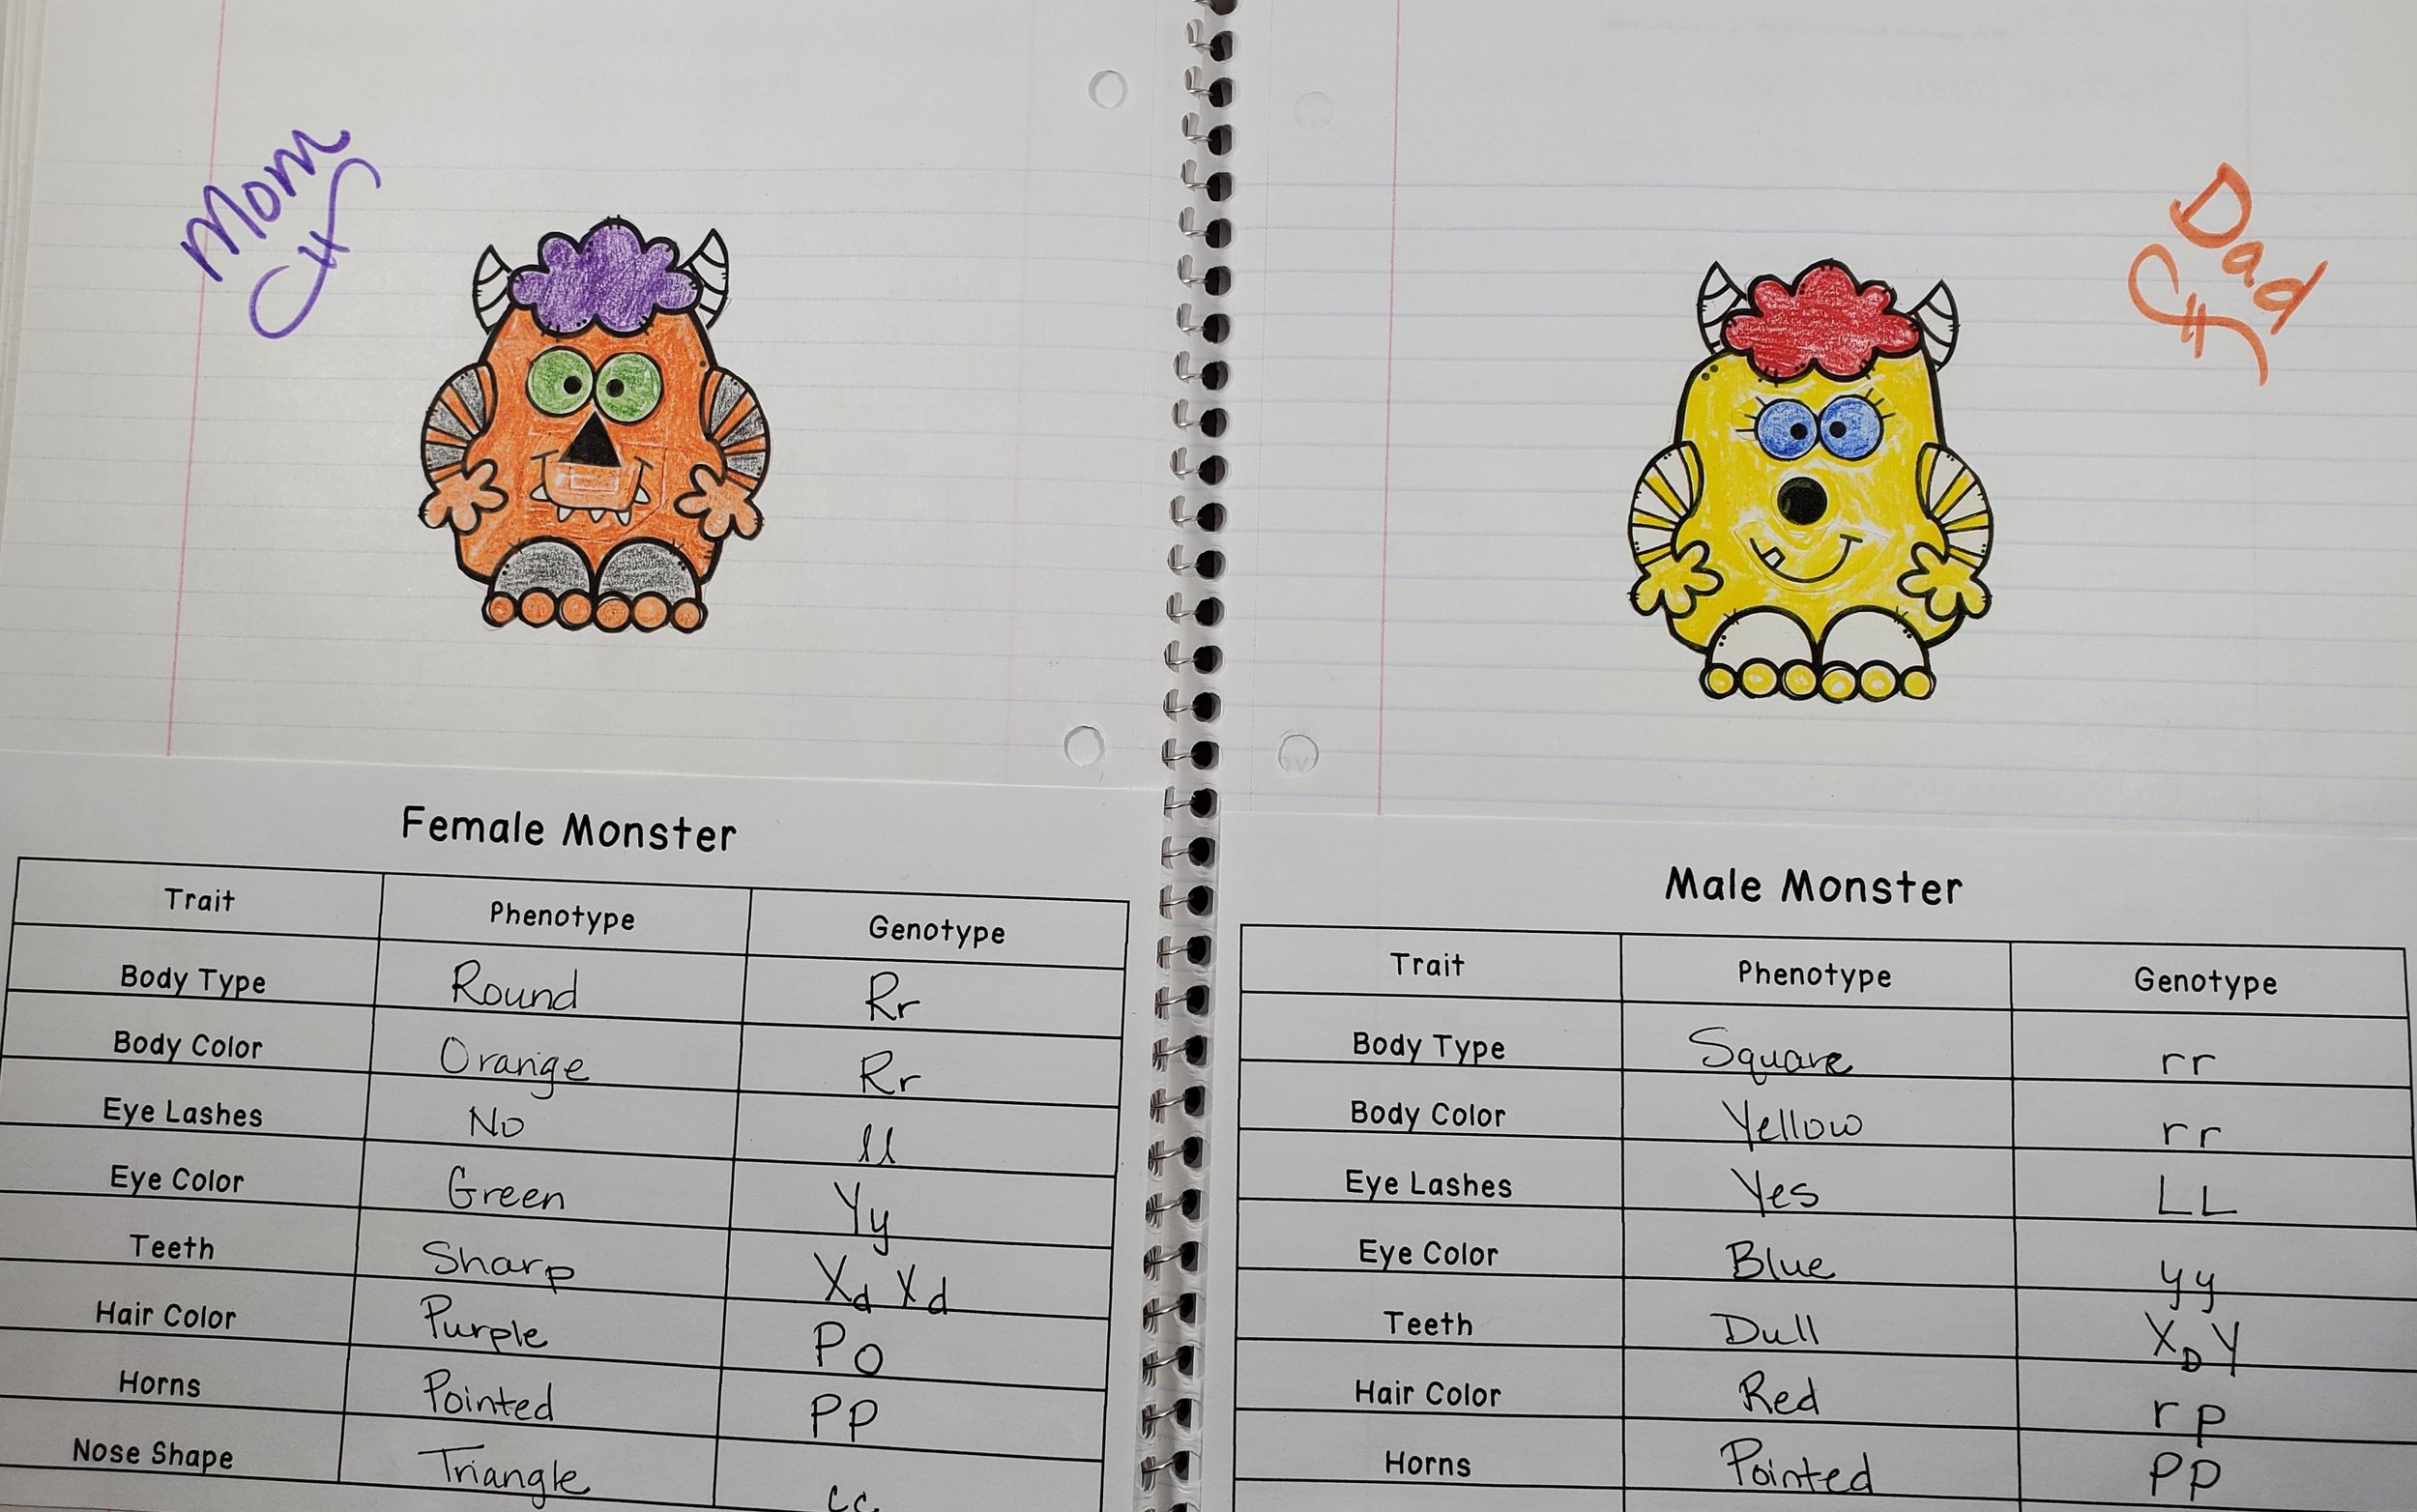
Students begin the project by creating a pair of monsters, using some loose guidance. Like most living things, our monsters have certain traits that are available in the population- certain eye colors, and hair colors, and such. I do allow students to be a bit creative where they can. For example, a student’s monster can have dyed hair, so long as the natural hair color is showing somewhere (in the roots, or the dye could be a stripe or tips). I also allow them to determine the number of eyeballs and horns, as well as the placement of body parts, since none of those are determined by the genes we will be studying later in the project. As the project progresses, we will talk about how these could either be genes we haven’t mapped or mutations or both, but initially I want the students to become invested in their pair of monsters and giving them as much creative freedom as possible really helps with this. There are certain constraints that we have to follow to make the project work, but letting students put their own special twist on this first part not only makes it feel like a fun art project, it also feels very true to life. After all, humans have only a few standard hair color traits and yet look at all the shades and colors and beautiful diversity that we see everyday!


It seems like a lot of extra work but I do prefer having each student make 2 monsters (a pair), which will ultimately become the parents of a single offspring. I do this for a couple of reasons. First, it separates the students from their monsters. It sounds weird but when I had students only create one, a lot of students wanted to create a likeness of themselves, and they would get hung up on the fact that humans don’t naturally have yellow eyes or purple hair. Also, it eliminates having to eventually partner students, which can get messy. The project occurs in stages and you can run into situations where a student is in attendance for one part but gone for another and, well, if you’ve been in the classroom for even a short time, you know how tricky that can get.
However, throughout the process of creating the monsters and at least once at the end, I do have students check their monster traits with a partner. They check one another’s work to ensure that they have created monsters using only the available traits. This is SO crucial for the next steps of the project when students will map out the genotypes of their monster chromosomes, so we double and triple check.
Once the monsters are created, students are ready to become geneticists! It’s important to note that students should have some basics understanding of genetics at this point. I’ve taught this project in 2 different ways, depending on the students I have each year. Sometimes I teach this as a final project at the end of a unit on genetics, sort of like a practicum assessment. Other times I teach it throughout the unit. Introducing the unit by making the monsters, then building on the project as we learn each new concept. I like both ways, but I find that for some students, learning all of the concepts first, then applying them to a final project provides more cohesion.

After students work some Punnett squares to determine all the possible trait outcomes for their little blobber monster baby, its time to produce the baby itself. Students will start by taking one complete cell from each parent through the process of meiosis. I find this part of the project to be where the most problems arise, so here are some tips I’ve used to help ease some of the issues.
For some students, all of that copying and re-copying of the letters may be too much, particularly because the print needs to be pretty small. For these students, you might find it beneficial to make one set of chromosomes and one copy that they cut out. They can then move the chromosomes through the process of meiosis until they finally have their 4 haploid cells. Then they simply glue the chromosomes onto the worksheet with the haploid cells.
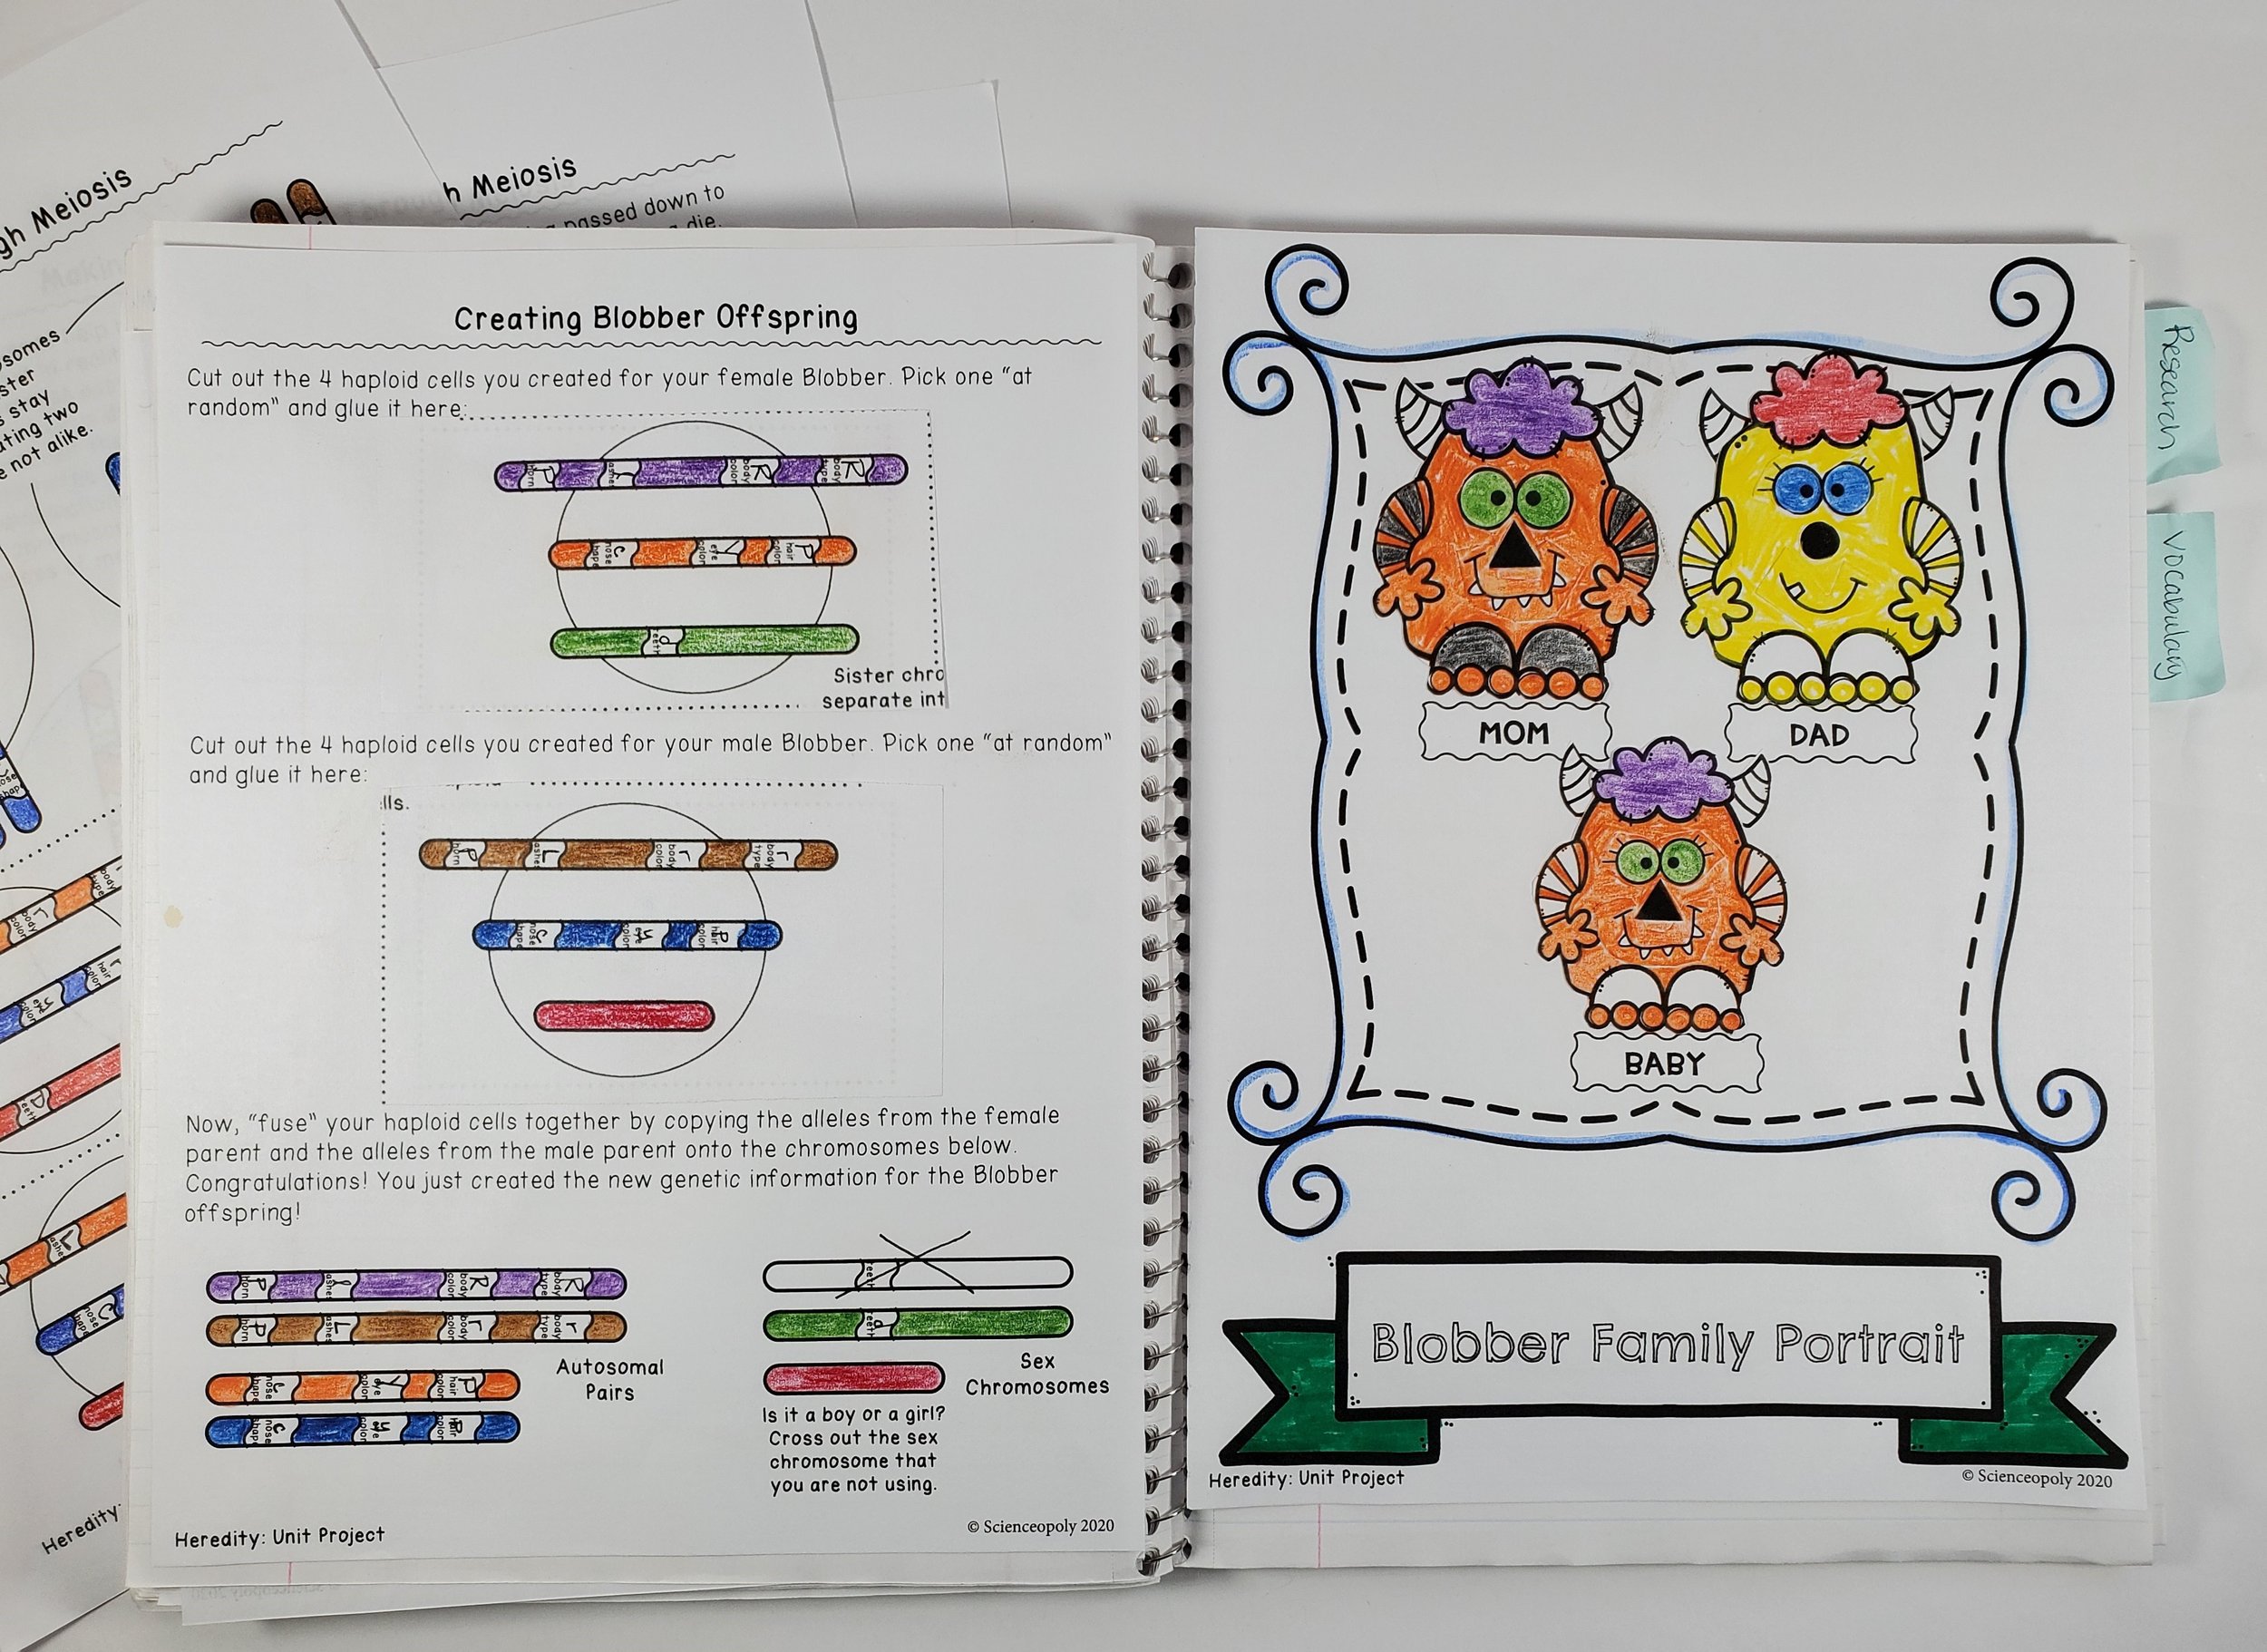
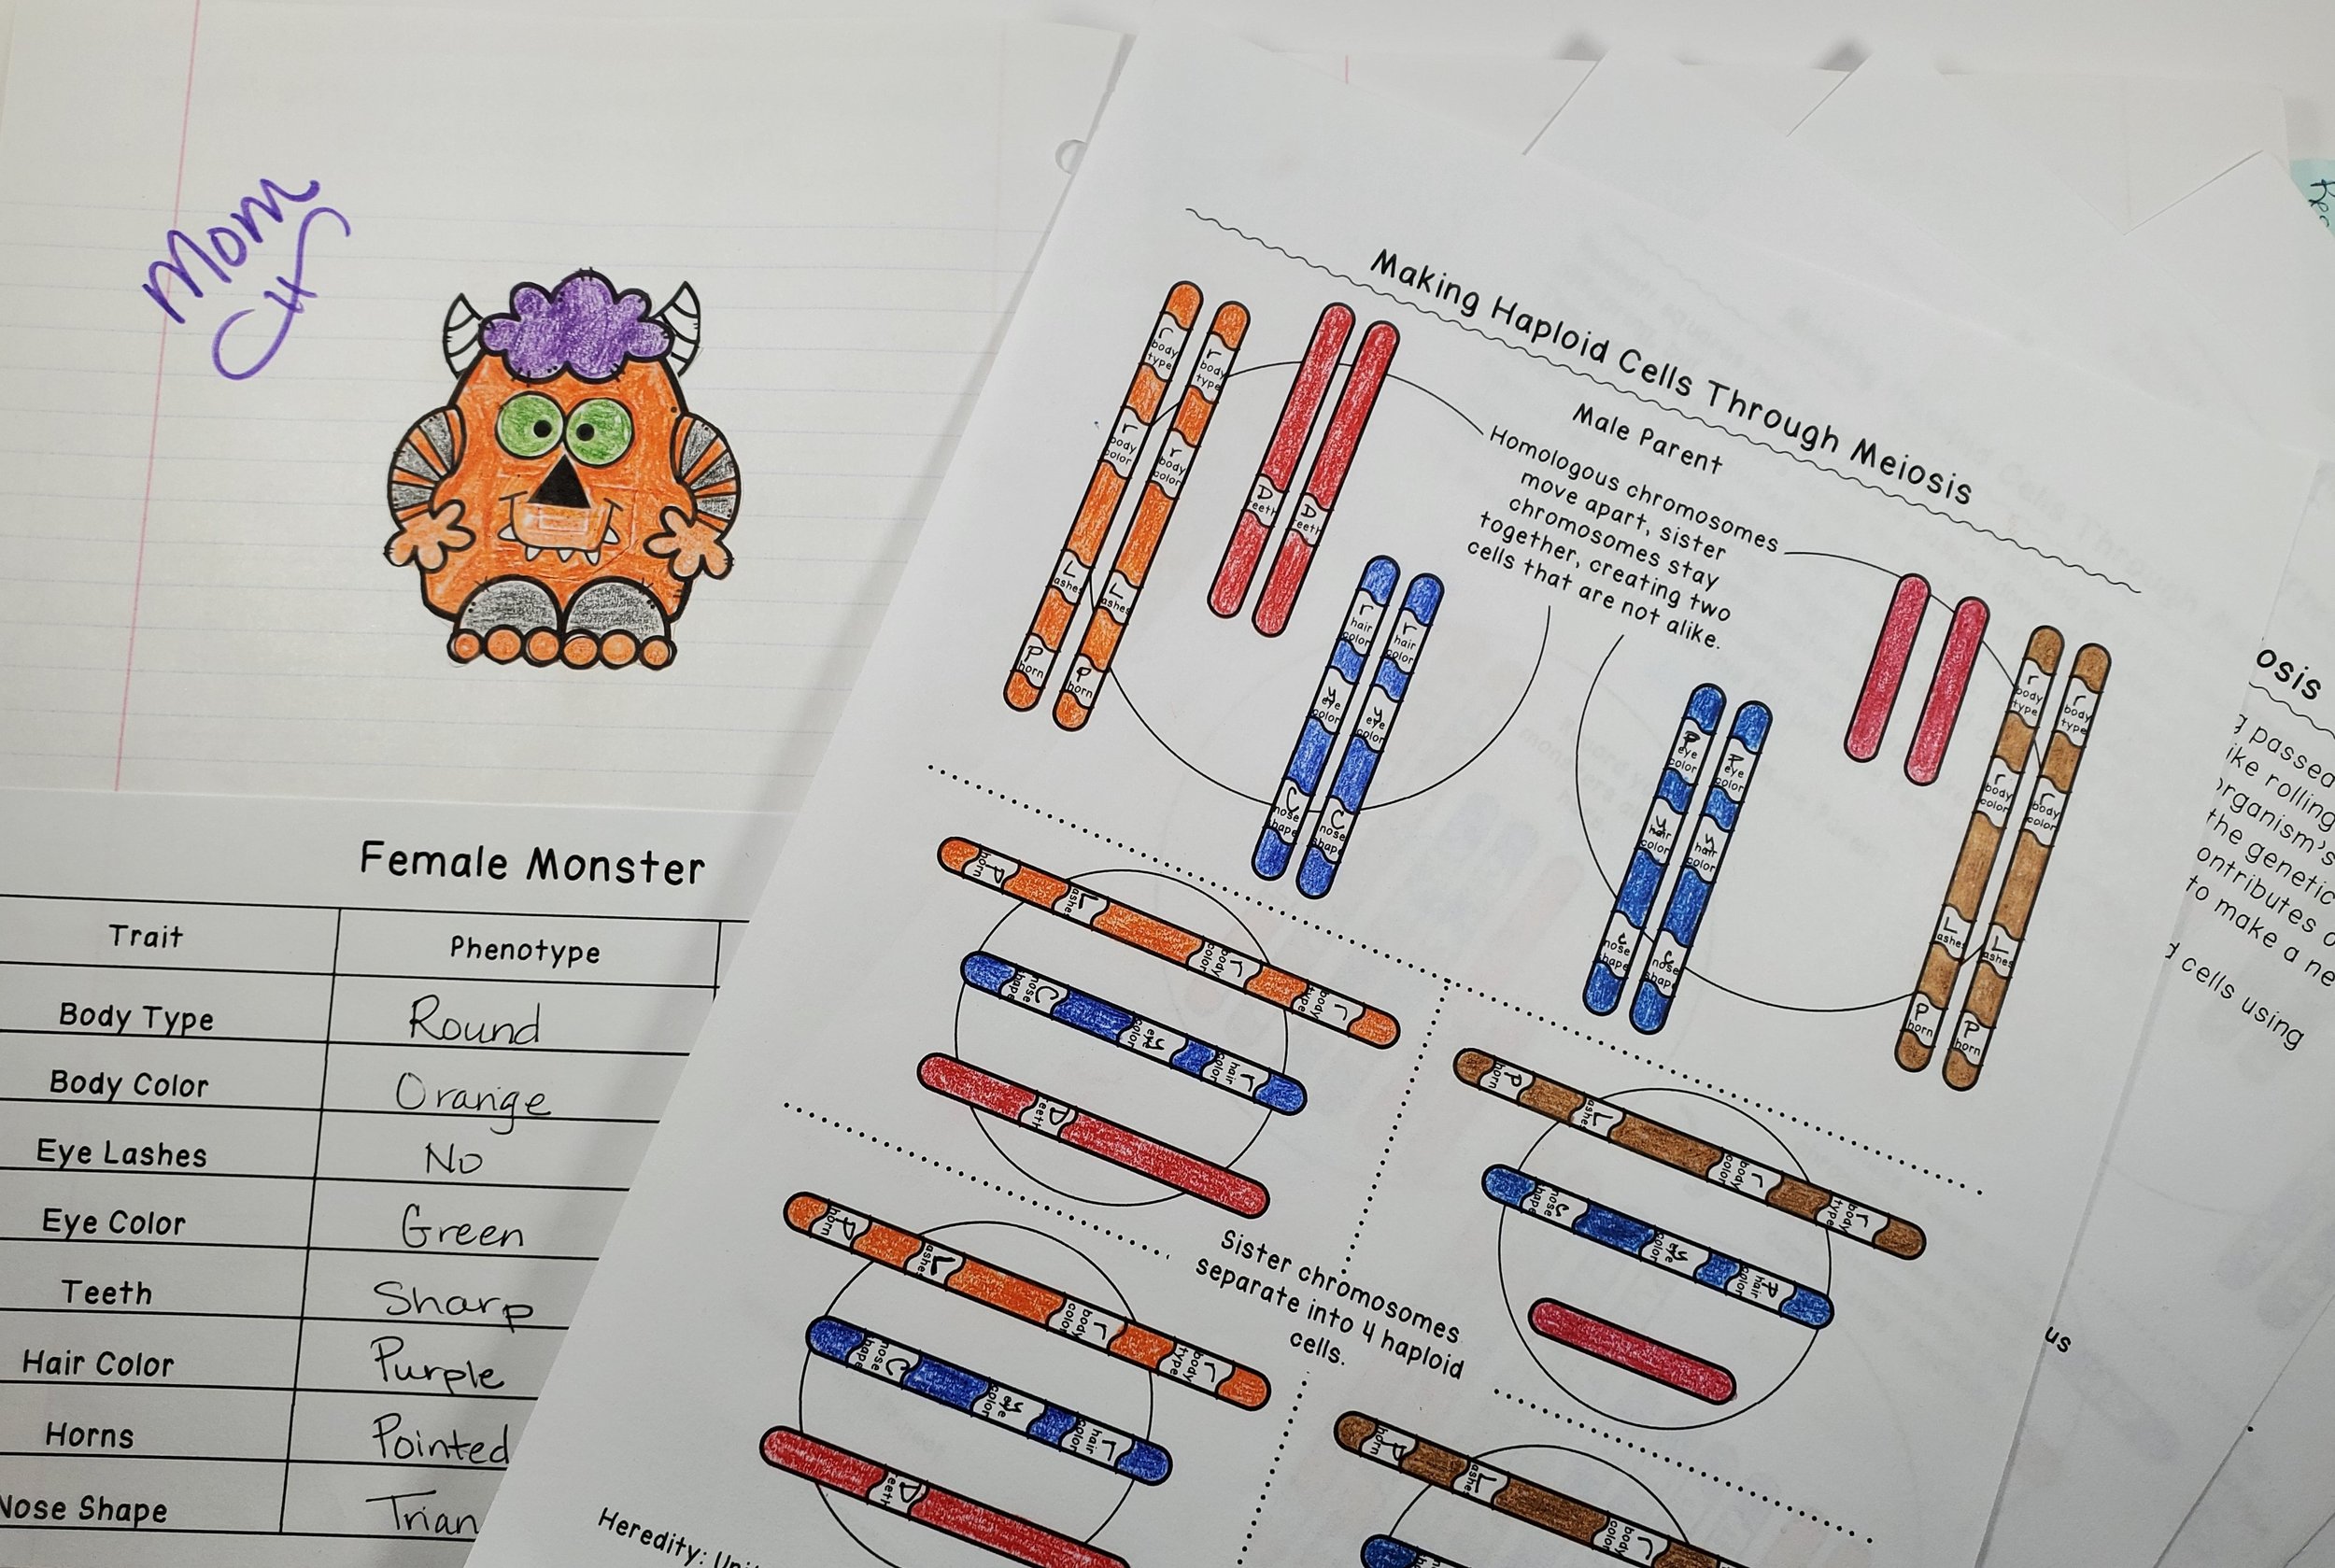
For other students, it’s difficult to track that there is an original chromosome, a homologous pair to that chromosome, and copies of each of those! For these students, it can be helpful to add a visual aspect to the chromosomes by coloring. I color the original chromosome and its copy (or sister chromosome) the same color. Then, I choose a similar but slight different color for the homologous pair and its copy. I find that this added visual piece not only helps students understand the concept a little more clearly, it also helps them track the inheritance of the chromosomes better as well, particularly if you have them use very different colors for the second parent!
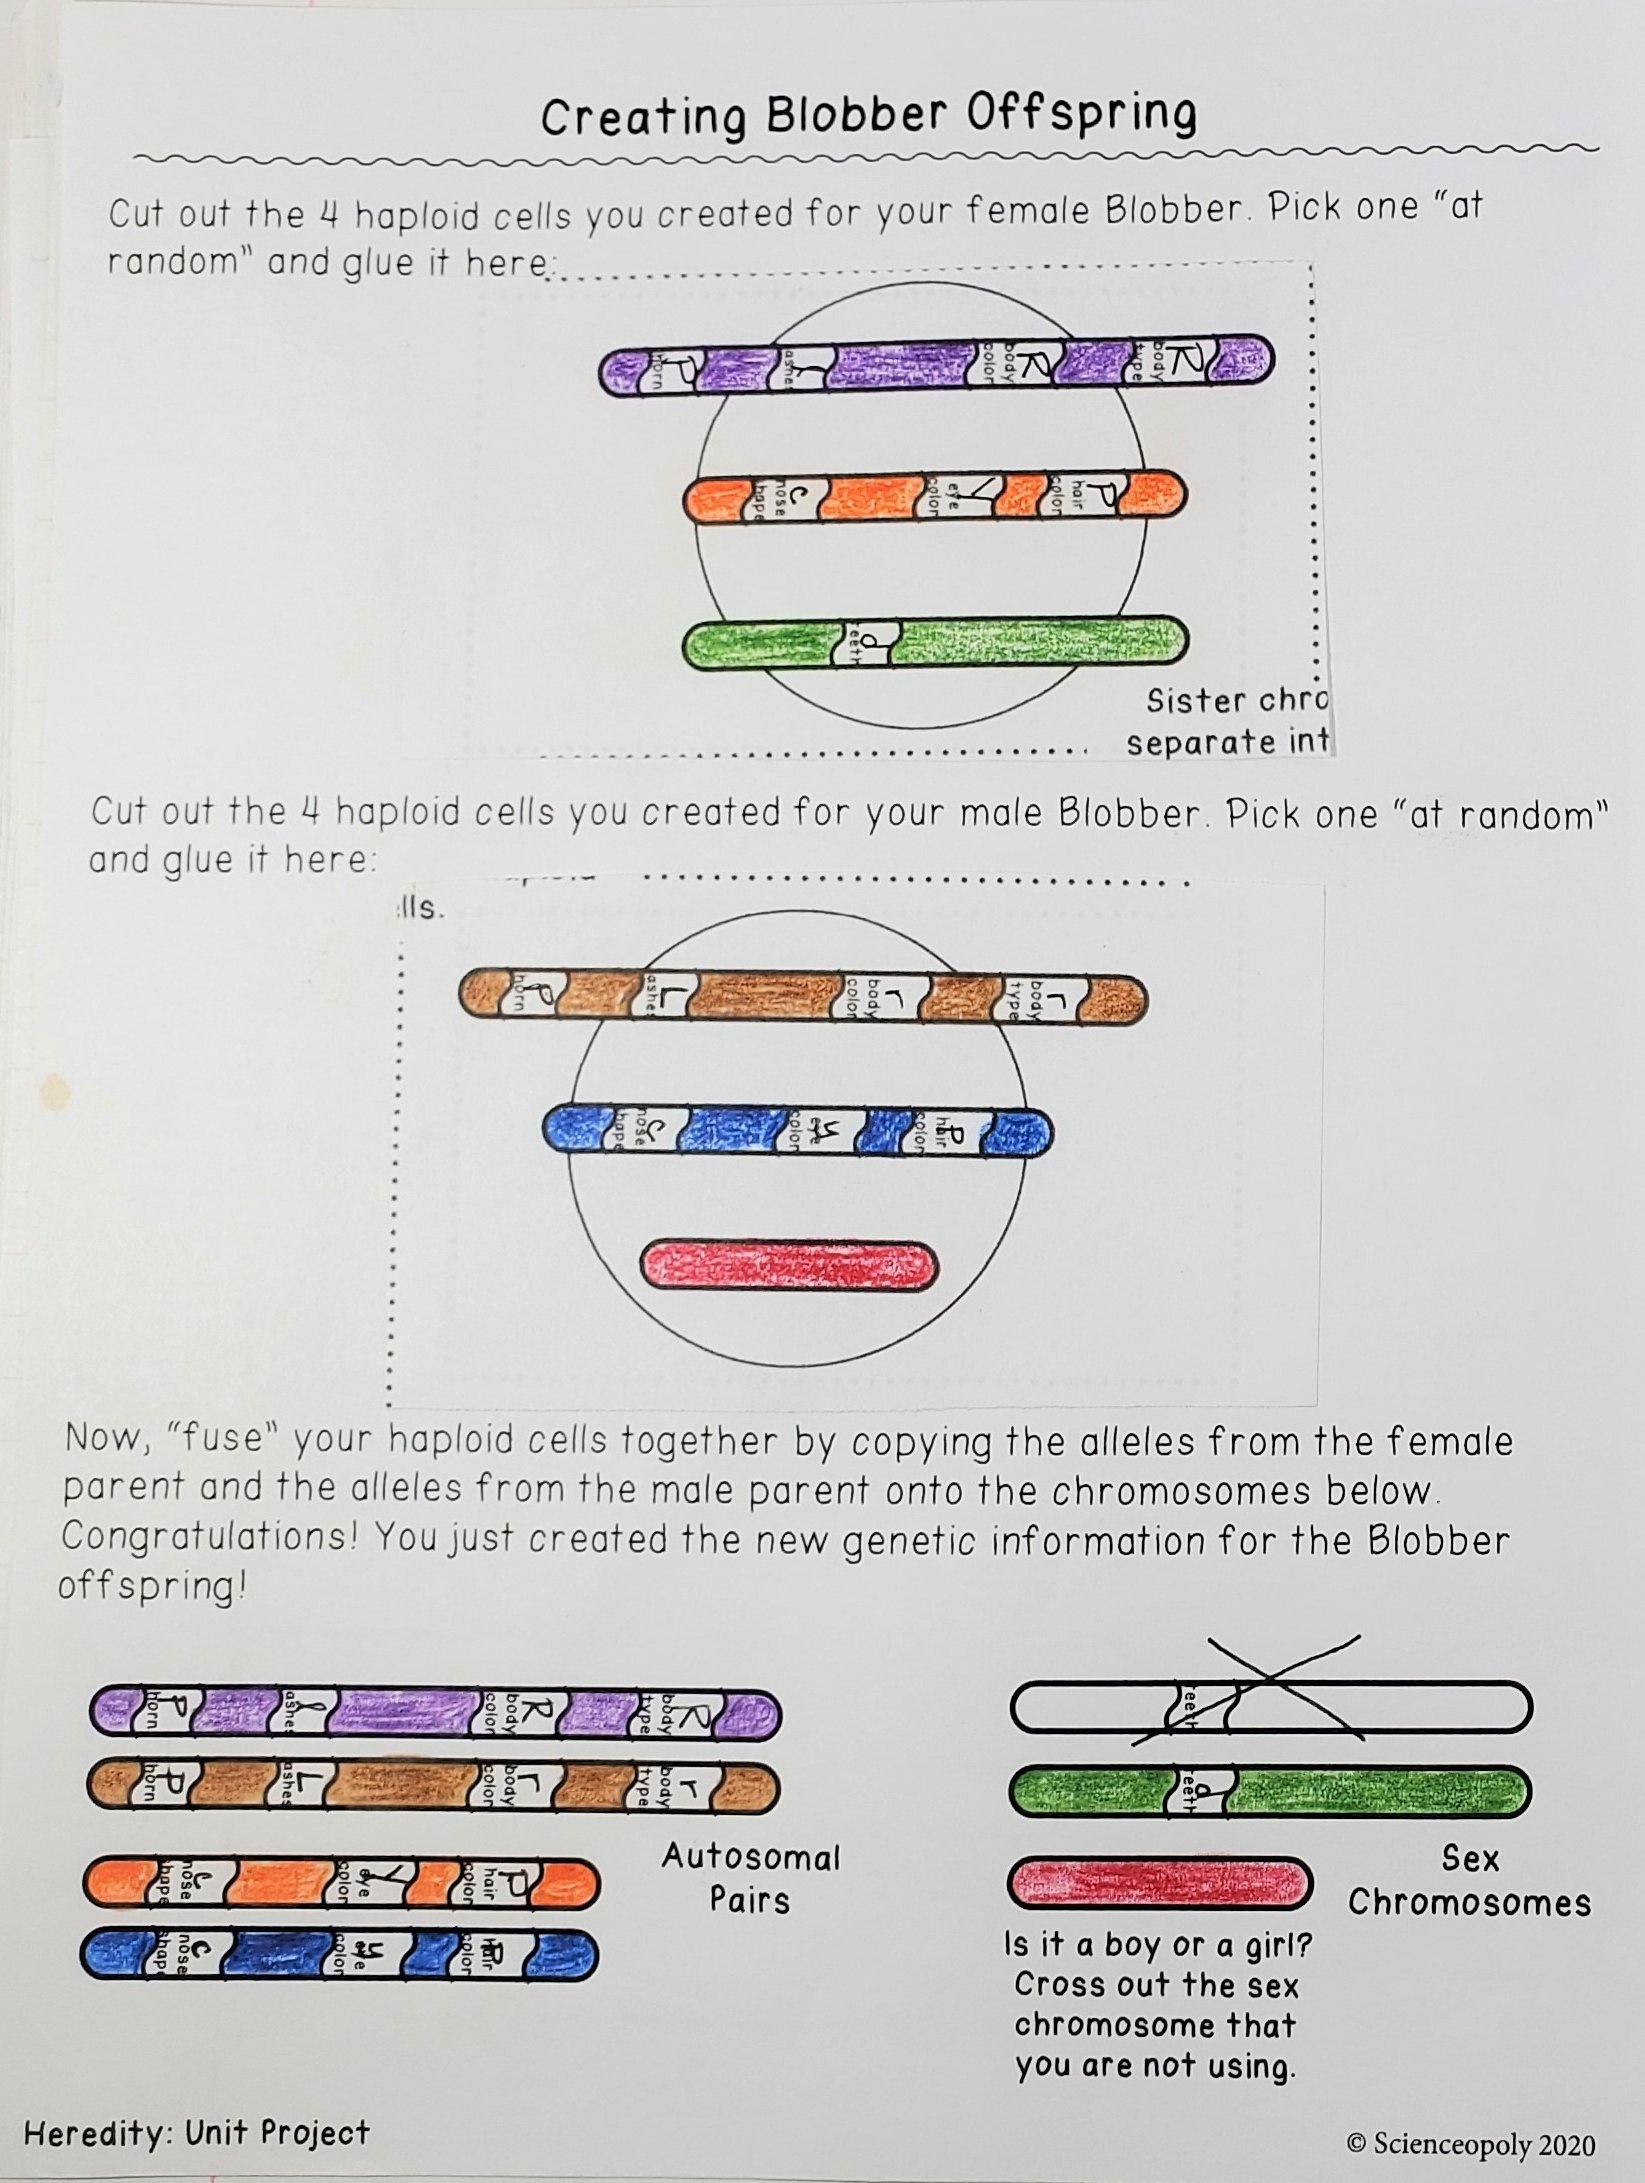
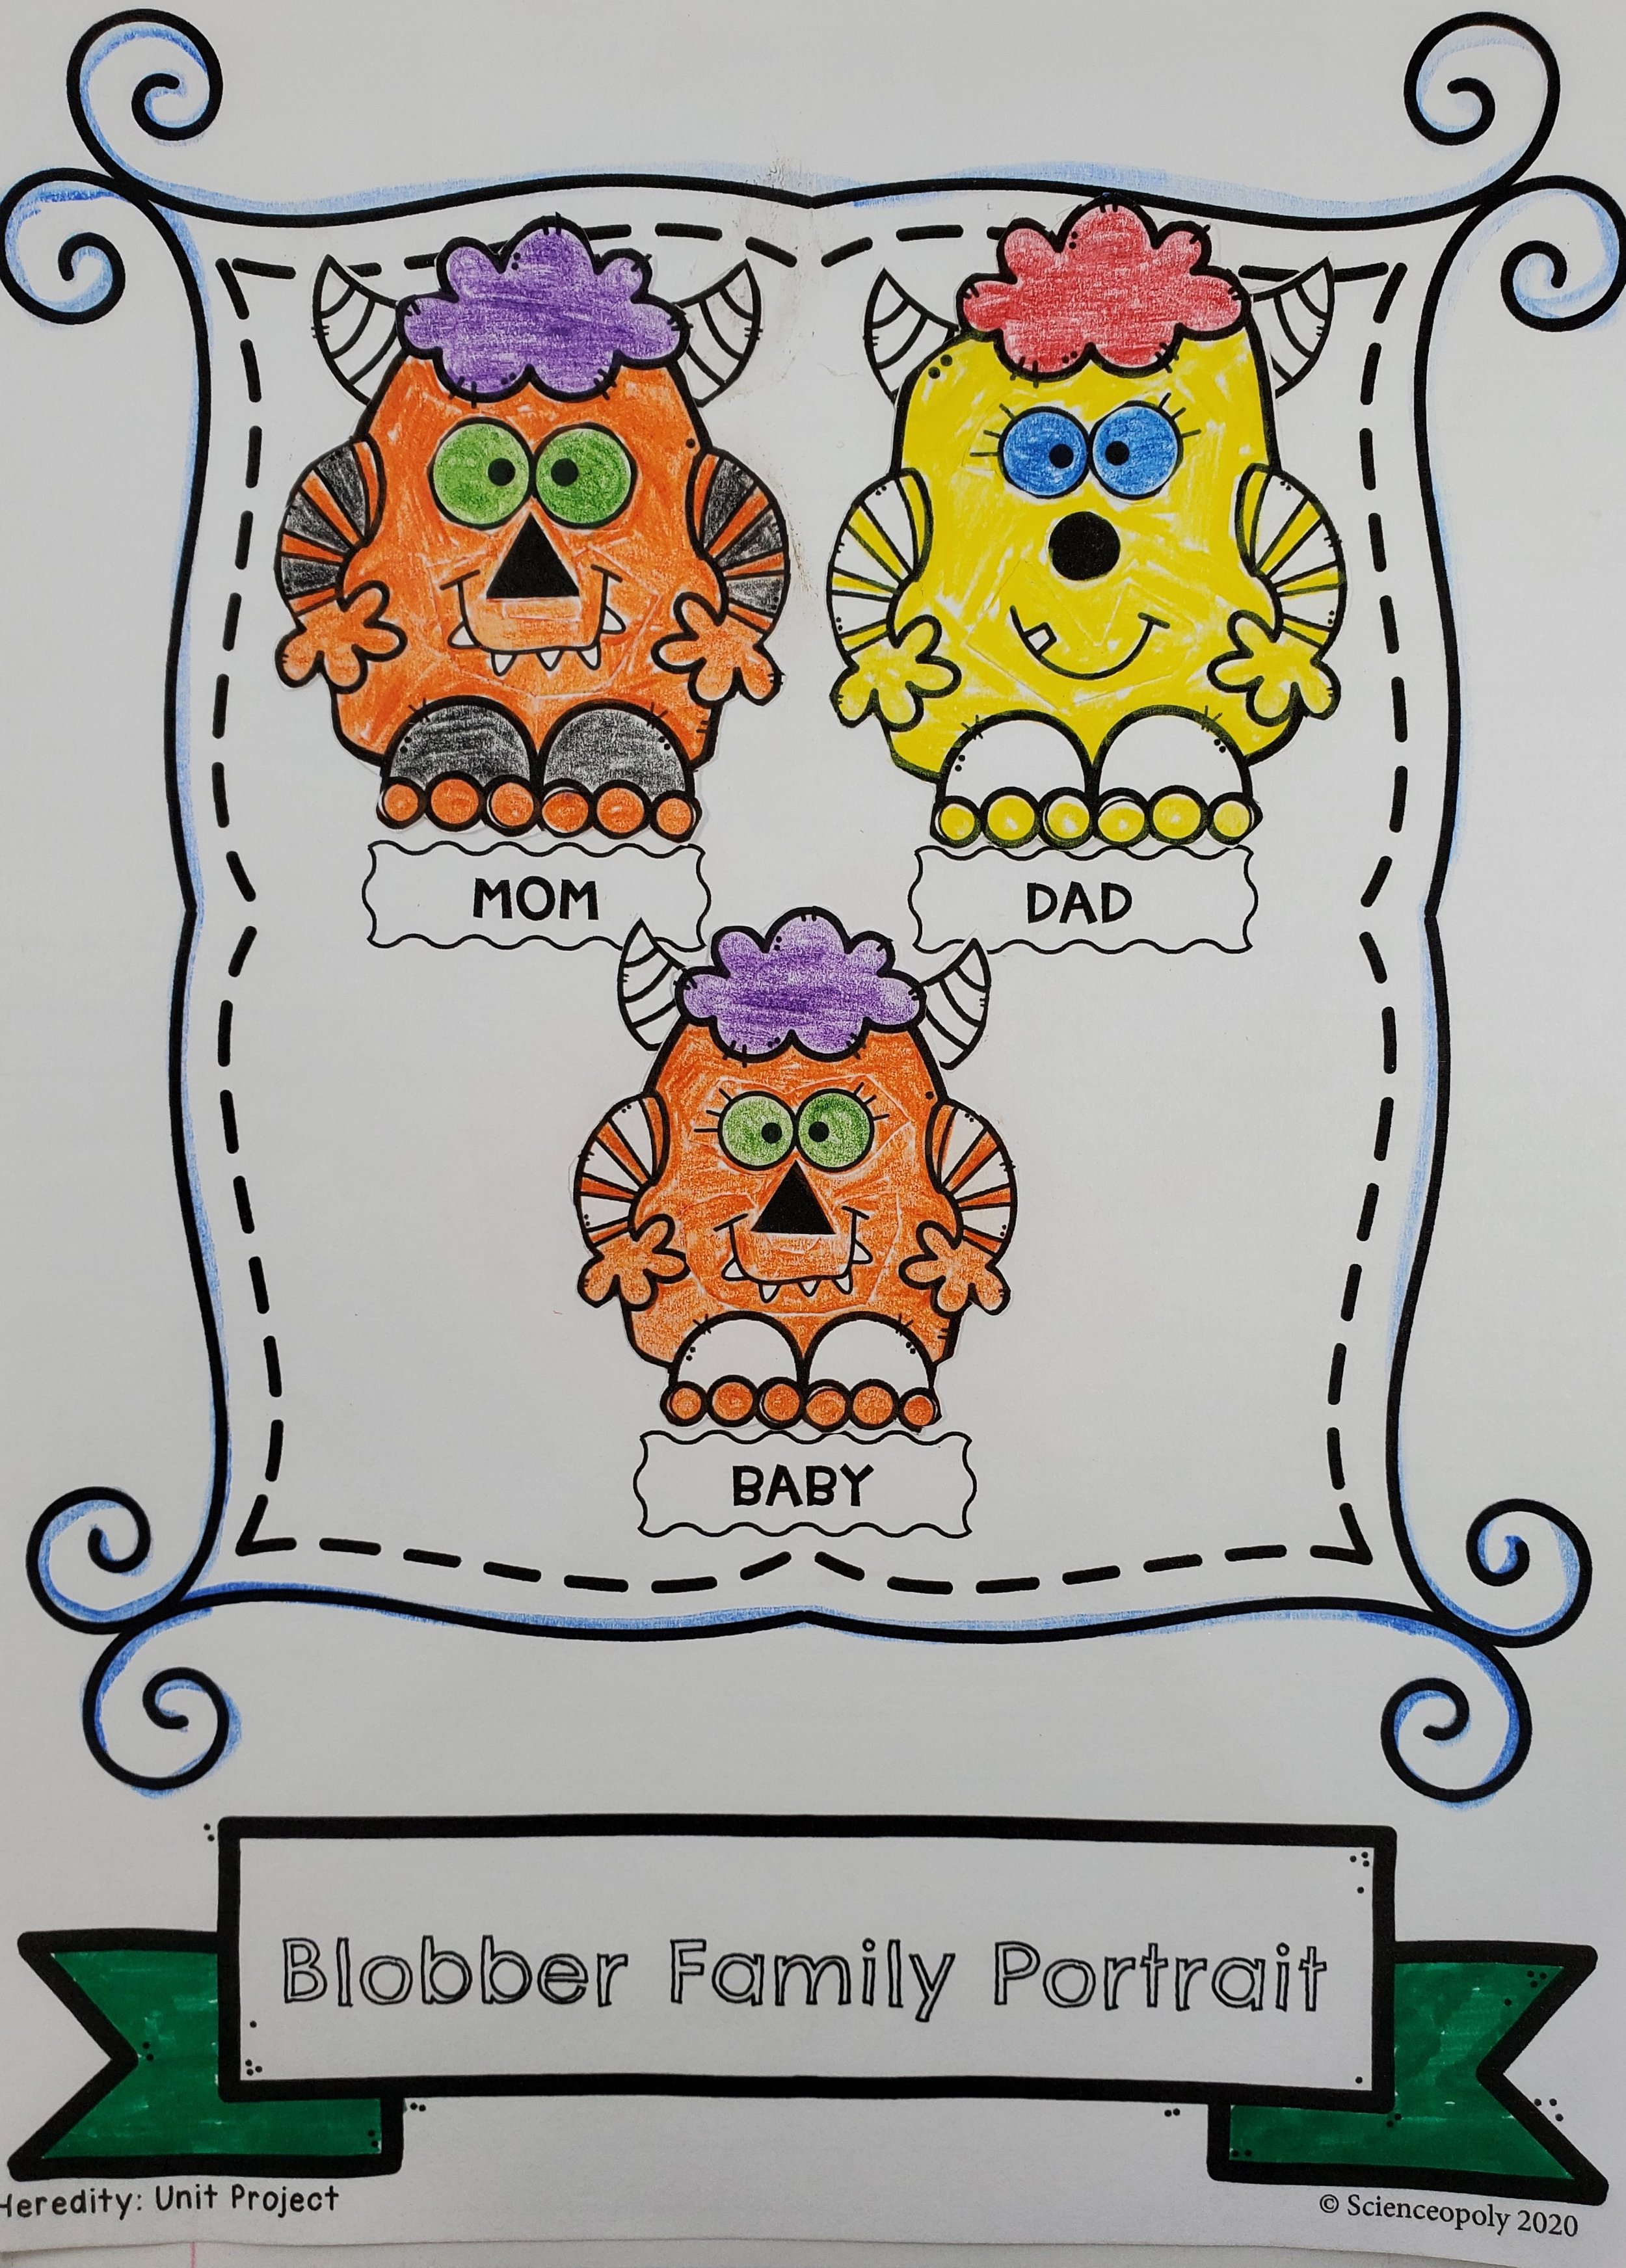
Now that the haploid cells have been created, the parent Blobbers are reading to pass down their genetic code! Students randomly (I emphasize the random part) choose 1 haploid cell from each parent, “fuse” them together by completing the “Creating Blobbler Offspring” worksheet, and Wha-La! A baby Blobber is born! The project ends with students using the new genetic code to create a third monster, the baby Blobber.